A good design still fails if the transfer step goes wrong. This walkthrough covers a clean download-to-machine process you can reuse for every free embroidery file.
Step 1: Download and keep the original ZIP
Save the complete archive first. Do not delete the ZIP after extracting—original packs are your backup if a single file becomes corrupted or renamed incorrectly.
Step 2: Extract and identify your format
- Extract to a clearly named folder (project name + date).
- Pick the native format for your machine.
- Keep the color chart/PDF with the stitch file.
- Avoid mixing different designs into one unlabeled folder.
Step 3: Transfer safely
- USB stick: Use a reliable USB formatted as your machine expects (often FAT32).
- Direct software/link: Follow your machine brand’s transfer app or cable method.
- Eject USB safely before unplugging.
- If a design does not appear, check folder structure—some machines only read specific directories.
Step 4: Verify on the machine screen
Open the design on the machine before hooping the final garment. Confirm size, colors, and that nothing is cut off by the hoop limits.
Quick tip: If a file will not load, try the alternate format from the same pack before converting. Many “bad file” issues are simply the wrong extension for that machine.
Browse free designs on EMBWIN
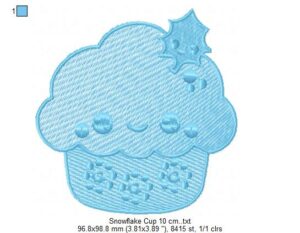
When you are ready to stitch, explore our library of free embroidery designs. Look for clear previews, stitch counts, and common machine formats so you can download with confidence.